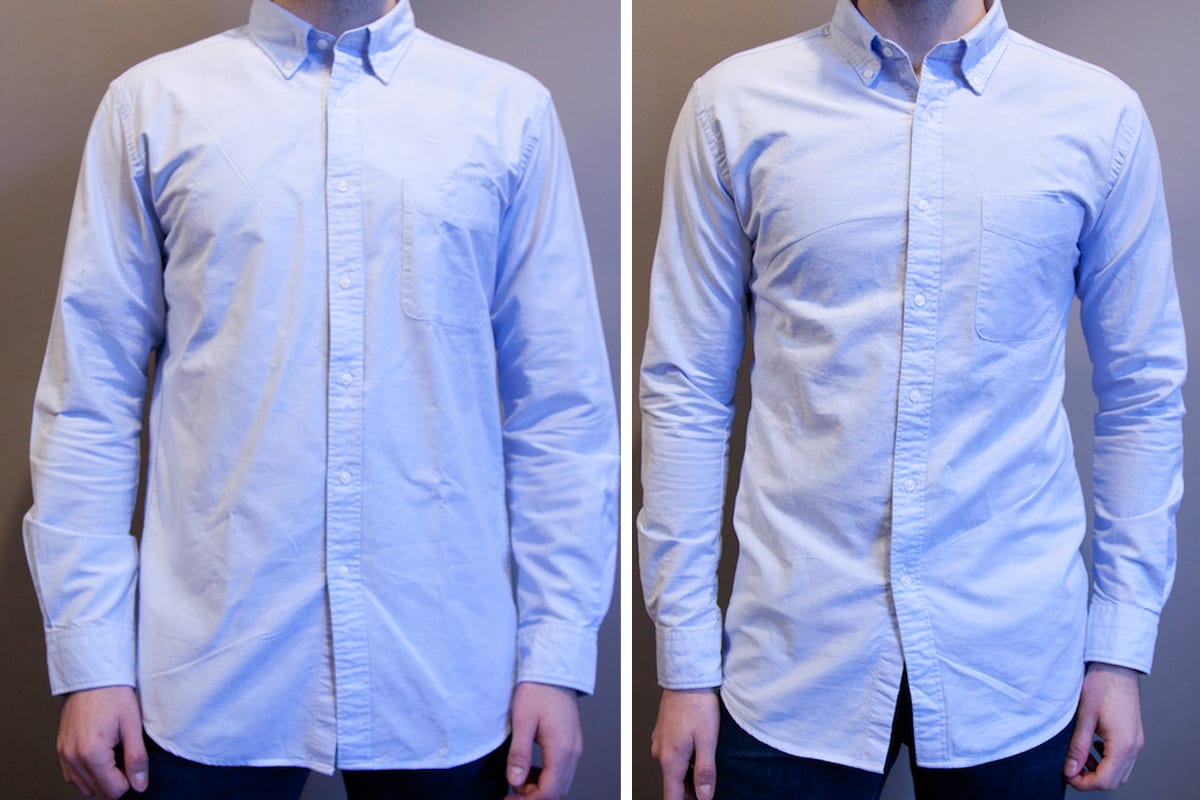
The very first rule of dressing well is making sure your clothes fit well.
You can drop half your rent on a pair of obsessively crafted selvedge denim jeans, or four figures on a handmade full canvas suit. But if they don't properly form to your body, you're going to look like you're wearing hand-me-downs. To get the precisely trim fit you want, you've usually got a few options.
1. Invest in clothes from more style-conscious (and expensive) labels that tend to have slimmer cuts. Though that can be hit or miss since even clothes from otherwise great designers might not fit you perfectly.
2. Bring every piece of clothing you buy to the tailor. But obviously, that's a lot of time and cash to invest, and getting the fit of your basic layering tees tweaked probably isn't the best use of either.
3. Go made-to-measure and get your clothes custom made just for you. But not everyone has the wallet for that -- and even if we all did, it's not necessarily worth it.
Notice how all of those involve spending a bunch of money? Here's the fourth (and best) option: learn to tailor your own clothes and keep your hard-earned cash. It's one of the best things you can do to look sharp without running to the tailor every week. Heavy lifting on things like suits and coats is still best left to the professional, but with a little work, off-the-rack stuff will look like you nabbed it from a magazine photoshoot set.

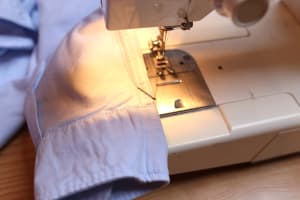
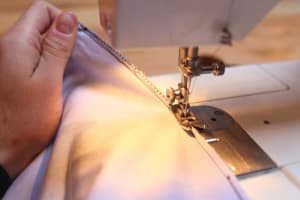
All you need to do is create a new seam along the seam on either side that goes from the bottom up to your underarms and sleeves (pictured). We used a shirt in this guide, but the same principle works with tees, sweaters, and light jackets.
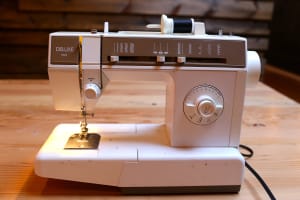
First, you need a machine. They're not cheap, but you don't need anything fancy, and this is the only upfront cost you'll have for a lifetime of free basic tailoring -- other than the occasional spool of thread, which cost less than your morning coffee. A simple machine like this highly rated, easy-to-use Singer will set you back $70.
You'll also need a shirt to work on -- we suggest starting small and using an old one you don't wear much anymore, or buying a cheap one from the thrift store to work on for practice.
Then grab a spool of thread and set up your machine. We used black thread for visibility in all the below photos, but you'll want to use a color that matches whatever you're sewing so that the finished stitches will be a invisible as possible.
Get Set Up
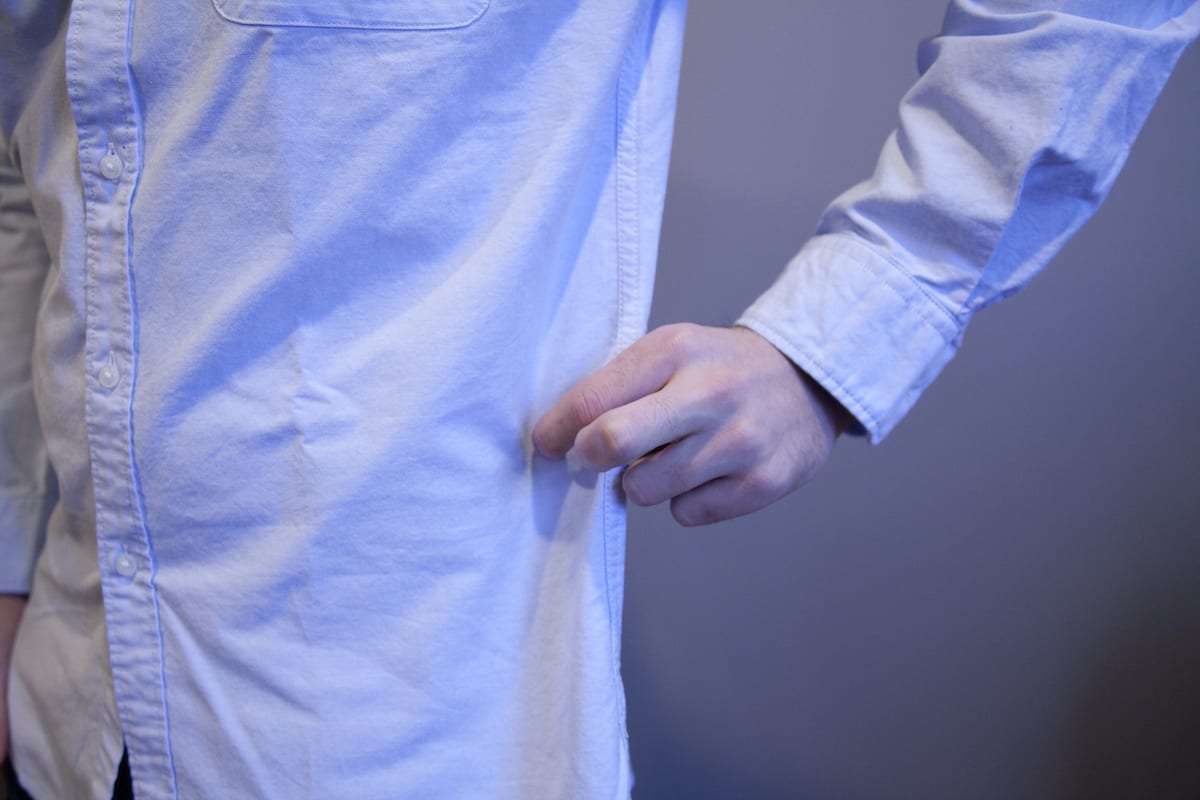
1. Figure out how much you want to slim down by putting on your shirt and pinching the excess fabric you want to get rid of. That'll determine where you start your seam once you turn the shirt inside-out and start sewing.
You could put the thing inside-out, pin the sides and arms until it's trim enough, and then follow the pins as you sew, which is what real tailors do. But that's kind of a hassle, and hard to do by yourself. Just note how much excess fabric you can comfortably pinch, and be conservative -- you can easily keep going if it's still too boxy after your first pass, but ripping out a stitch that was too aggressive is a pain in the ass.
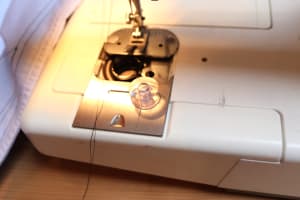
2. Wind a bobbin -- the small removable circle pieces that should have come with your machine -- with thread. Each machine is different, so you'll need to consult your instruction manual for the specifics.
Once it's full, fit the thing into your machine according to your model's manual. It'll go somewhere beneath the needle, which provides thread for the lower part of the stitch.
3. Thread your machine -- again, according to the instructions that came with the thing. Different models use different setups for threading, so like winding the bobbin, there's no one-size-fits-all how to.
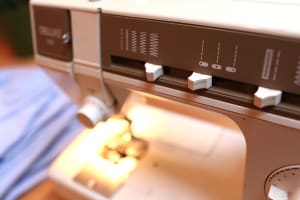
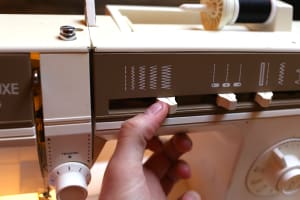
4. Set the machine to a straight stitch, which sews in a normal straight line. You should have some kind of setting on your machine. Note that in the photo, it's set to a zig-zag stitch -- the straight stitch is the leftmost dotted line setting.
Start Sewing
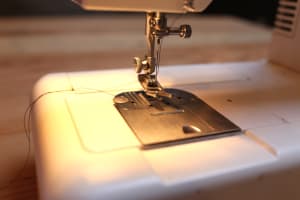
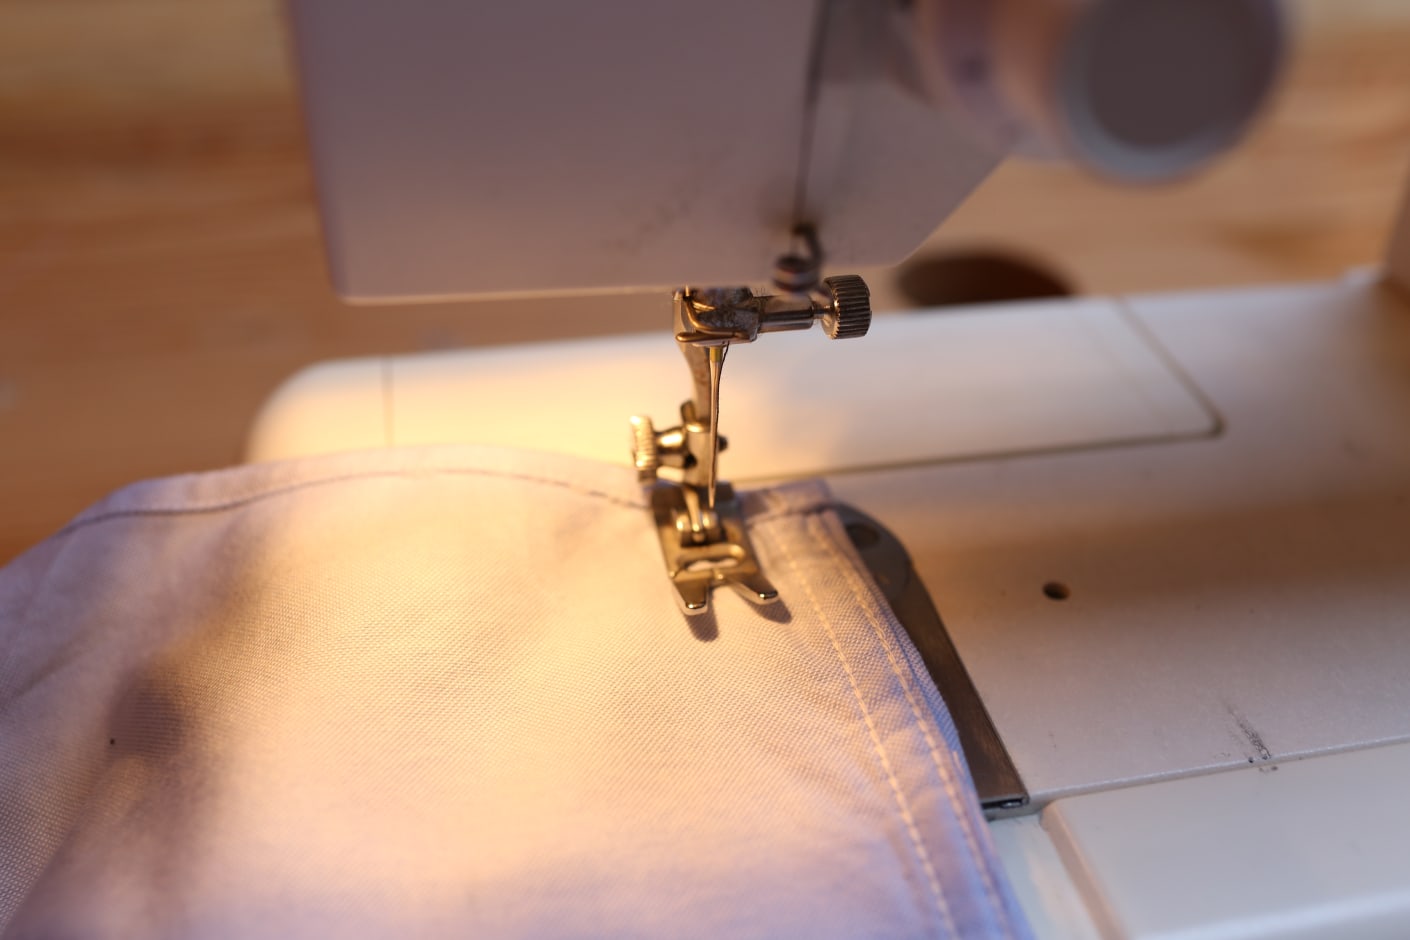
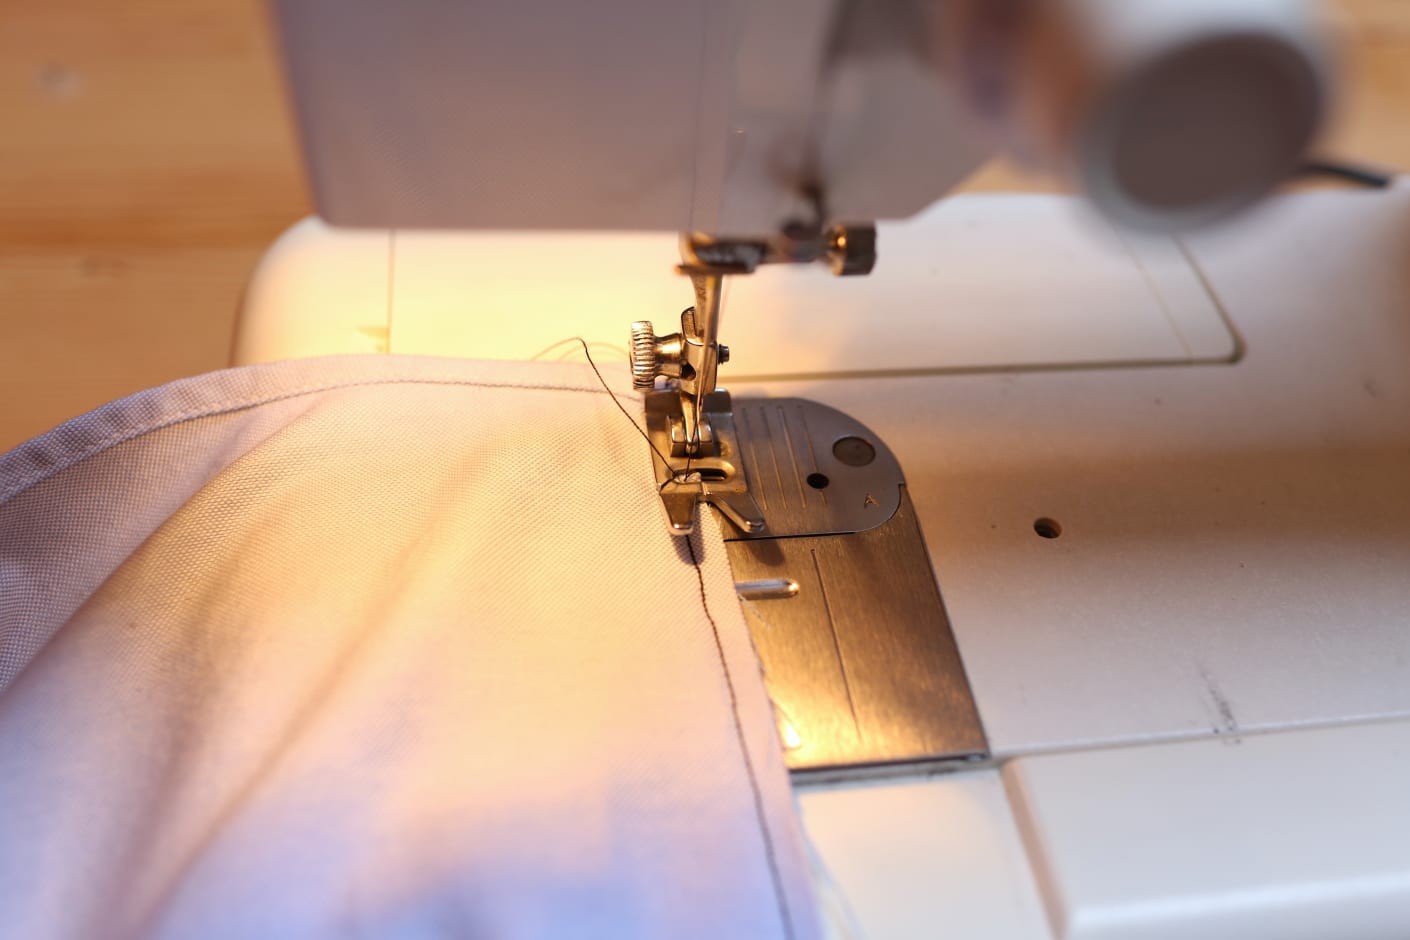
1. Lift the presser foot (that's the little rectangular piece beneath the needle) by raising the lever that controls it, which should be sticking out of the machine somewhere nearby.

2. Place your shirt inside out and along one of the side hems, under the presser foot and lower the lever. Make sure it's folded flat so you don't inadvertently sew bunched-up fabric together.
Line the needle up with the rough estimate of how much you want to take the shirt in from when you tried it on and pinched the excess. If there was an inch of excess on either side, start your seam one inch away from the side of the shirt.

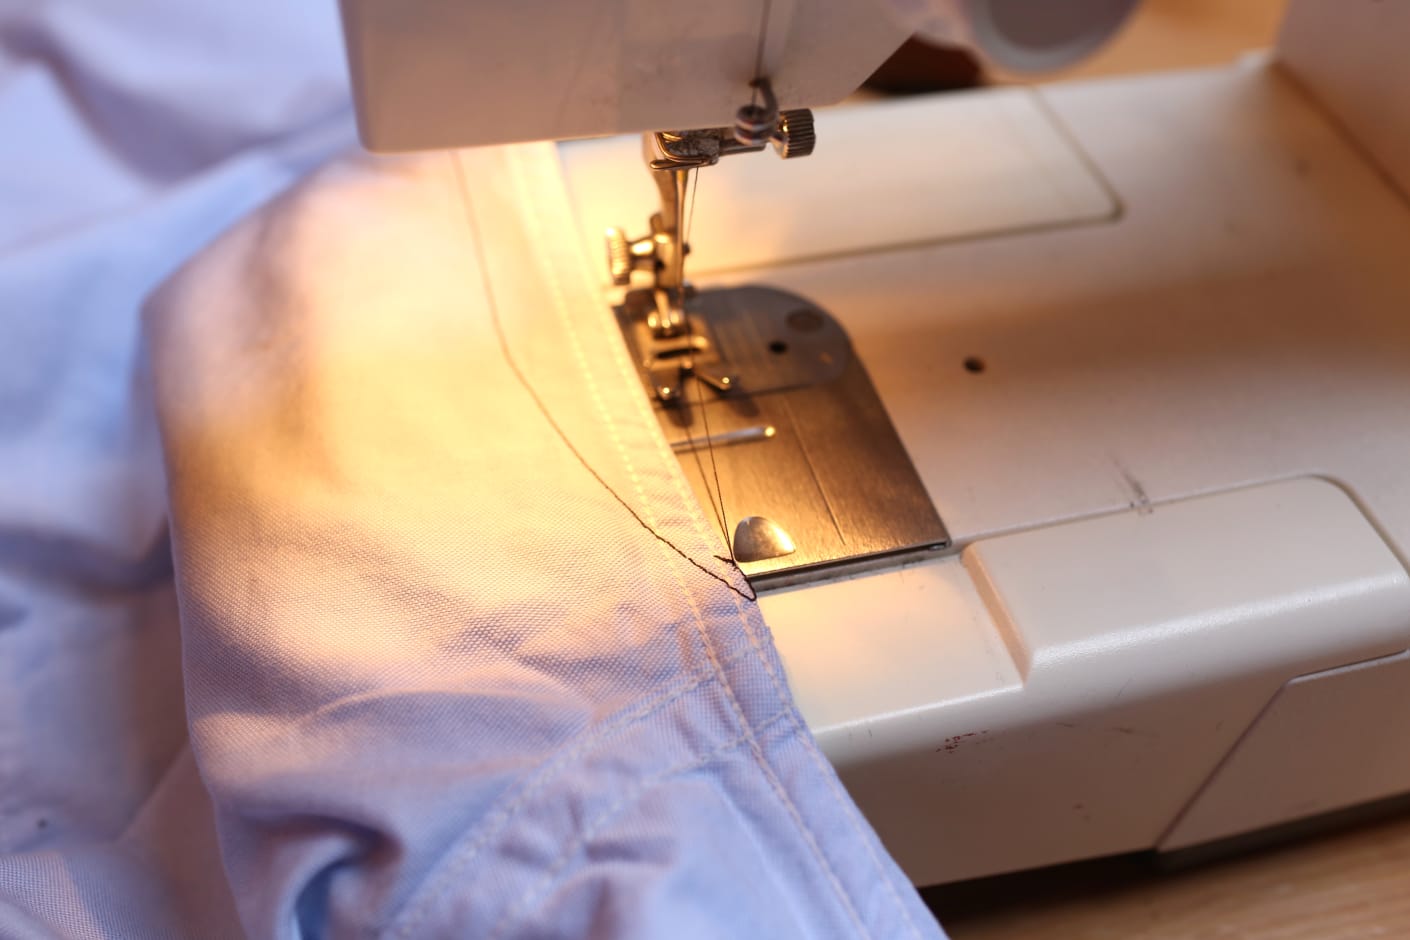
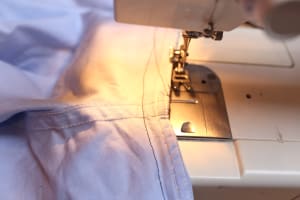
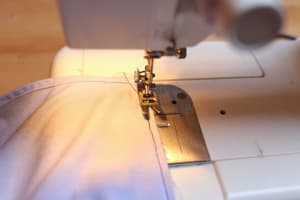
3. Start sewing in a straight line following, going slowly and carefully. You're creating a new seam along the side of the inside-out shirt, which makes the body slimmer.

4. At the very beginning of your seam, use the backwards stitch to make sure your thread doesn't unravel. It should be a button somewhere on your machine. Hold it down while you sew and the machine will go in the reverse direction, letting you double back on the thread to reinforce the stitch. Go back and forth a couple times at the very beginning of your stitch, and then do the same at the very end -- that lets you lock in the stitch at either end.
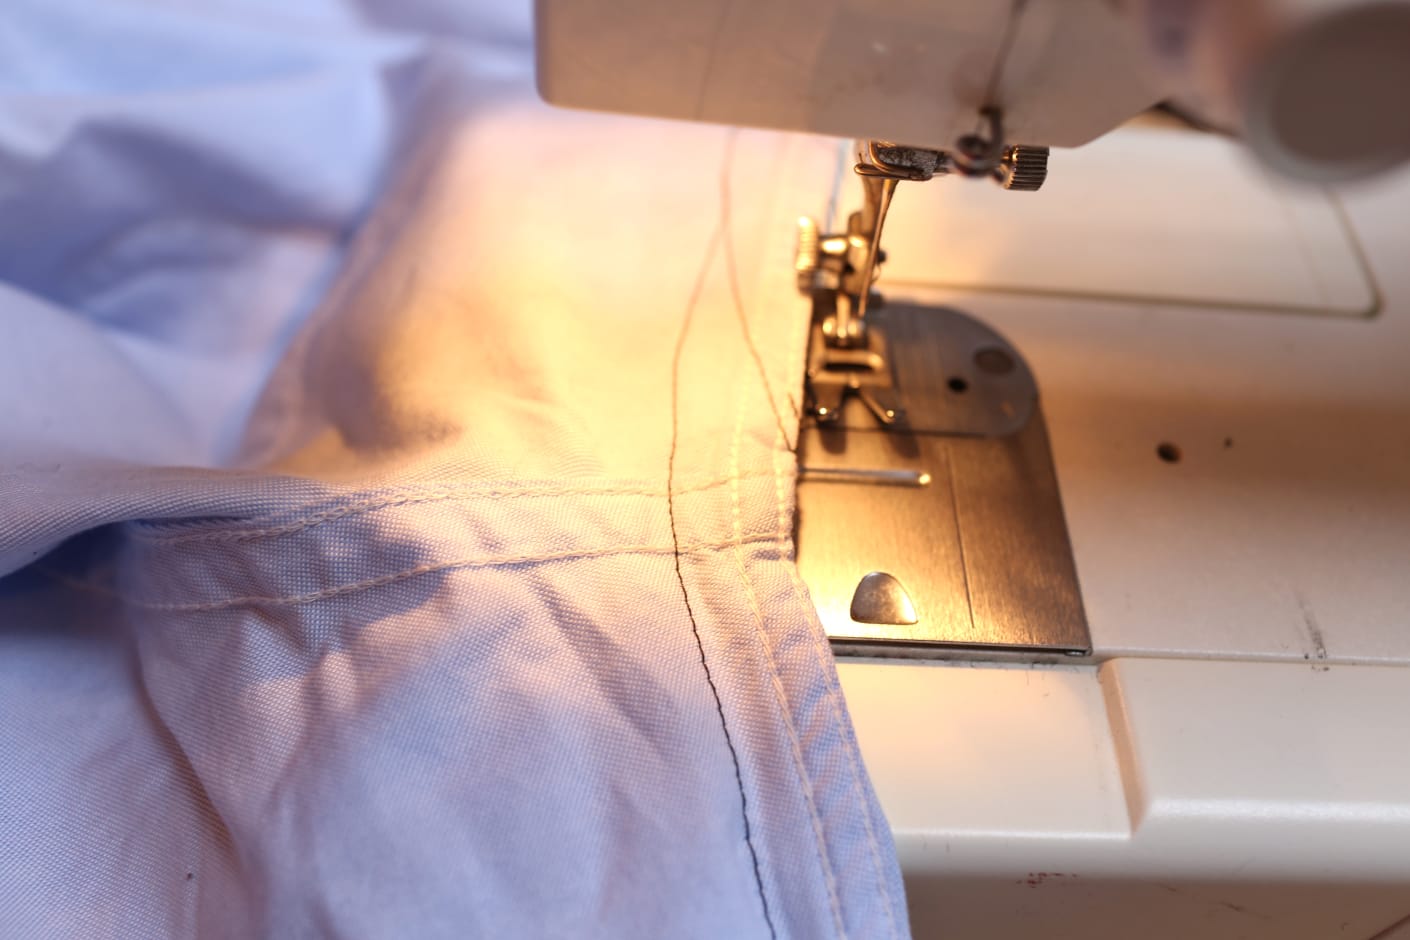
Then continue to sew all the way up the side of the shirt, keeping the line as straight as possible.

5. When you get close to the armhole, you've got two options. If the armhole is already narrow enough for you, just taper the seam back to the side of the shirt. Don't forget to use the backwards stitch to double back on the thread one or twice once you reach the end of the fabric to prevent unraveling.
If the armhole is too wide and you want to slim it down, just keep on going and continue onto the sleeves. In the photo to the left, you can see both options.
6. Stitch along the sleeves, but a little more conservatively. Odds are that this part will need less work, and if you take the sleeves in too much, you won't be able to comfortably bend your arm and you'll need to rip out the seam to start over again.
When you get to the end, taper off to the side and double back on the stitch to reinforce it.
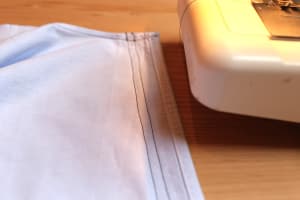
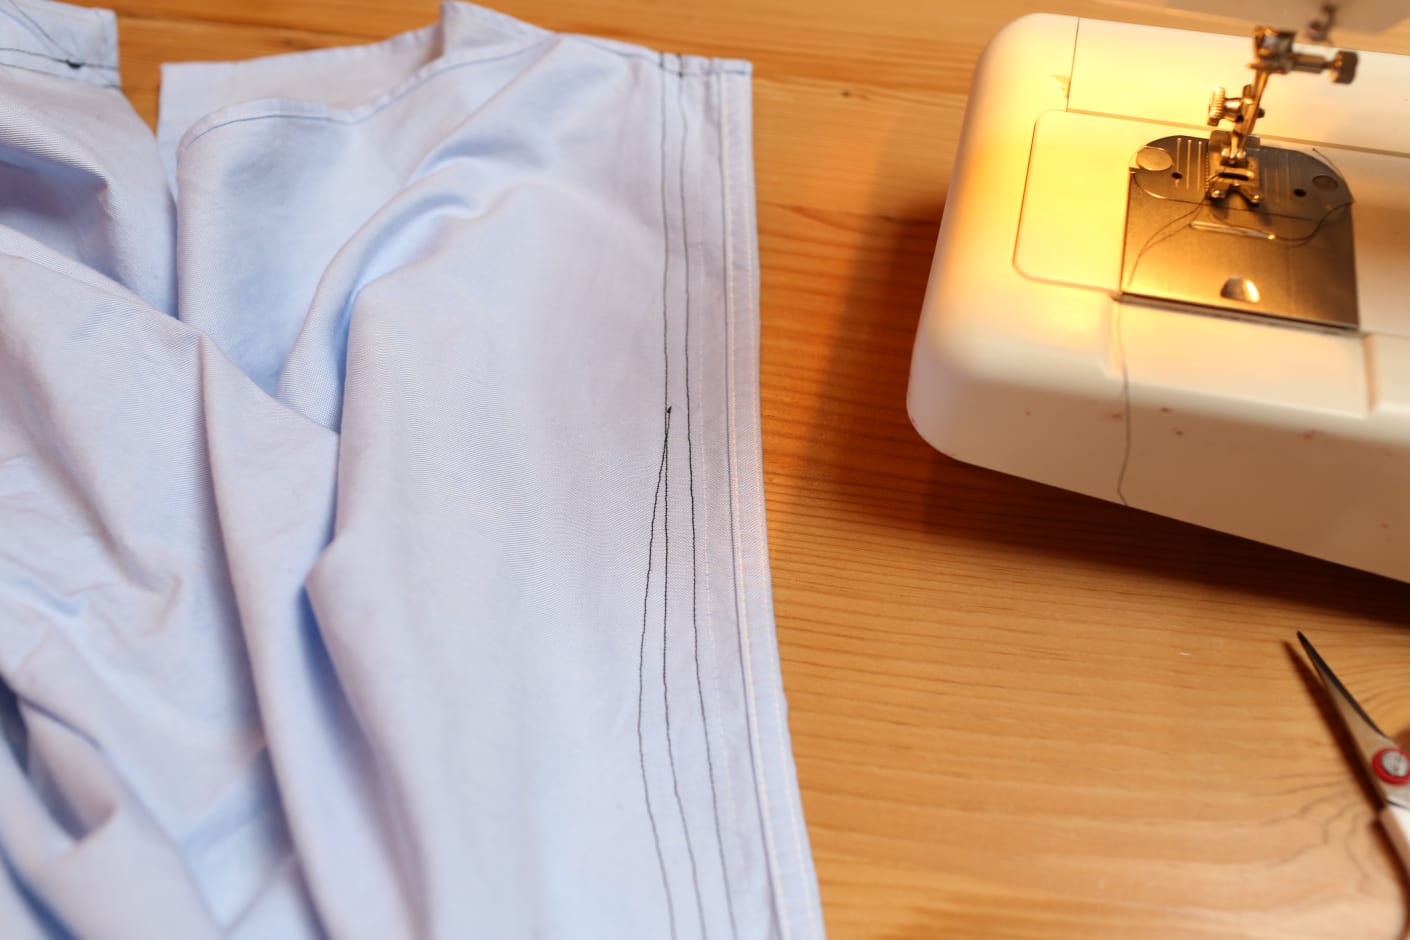
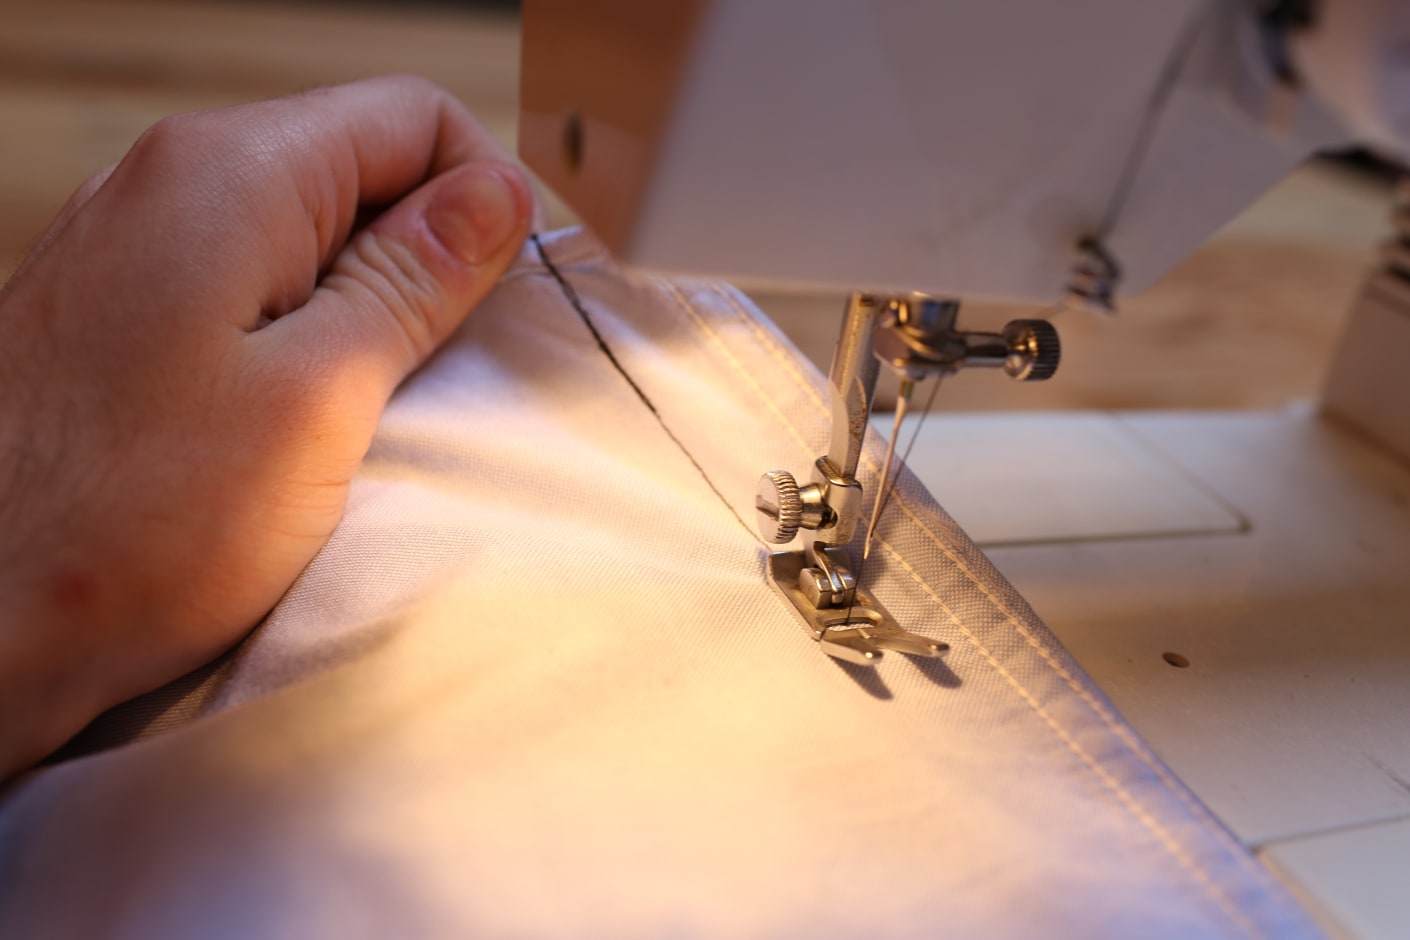
7. Take your shirt off the machine, trim the threads, and then repeat the entire process on the side seam of the other side of the shirt. Then try the thing on. If it's still too boxy, aim a little further over and repeat (like in the photo to the left) until the fit is just right.

If you want to tweak the fit by only tailoring specific sections, like if the bottom is good but the chest is still too loose, just taper the seam accordingly like how the outermost seam starts a little higher in the photo to the left. That was because the bottom few inches fit well, but we wanted to keep slimming the rest.
Now, anything past this point is optional. If you're happy with the fit and don't mind the leftover fabric bunching up when you turn the shirt right side out, you're good to go.
Finish Up

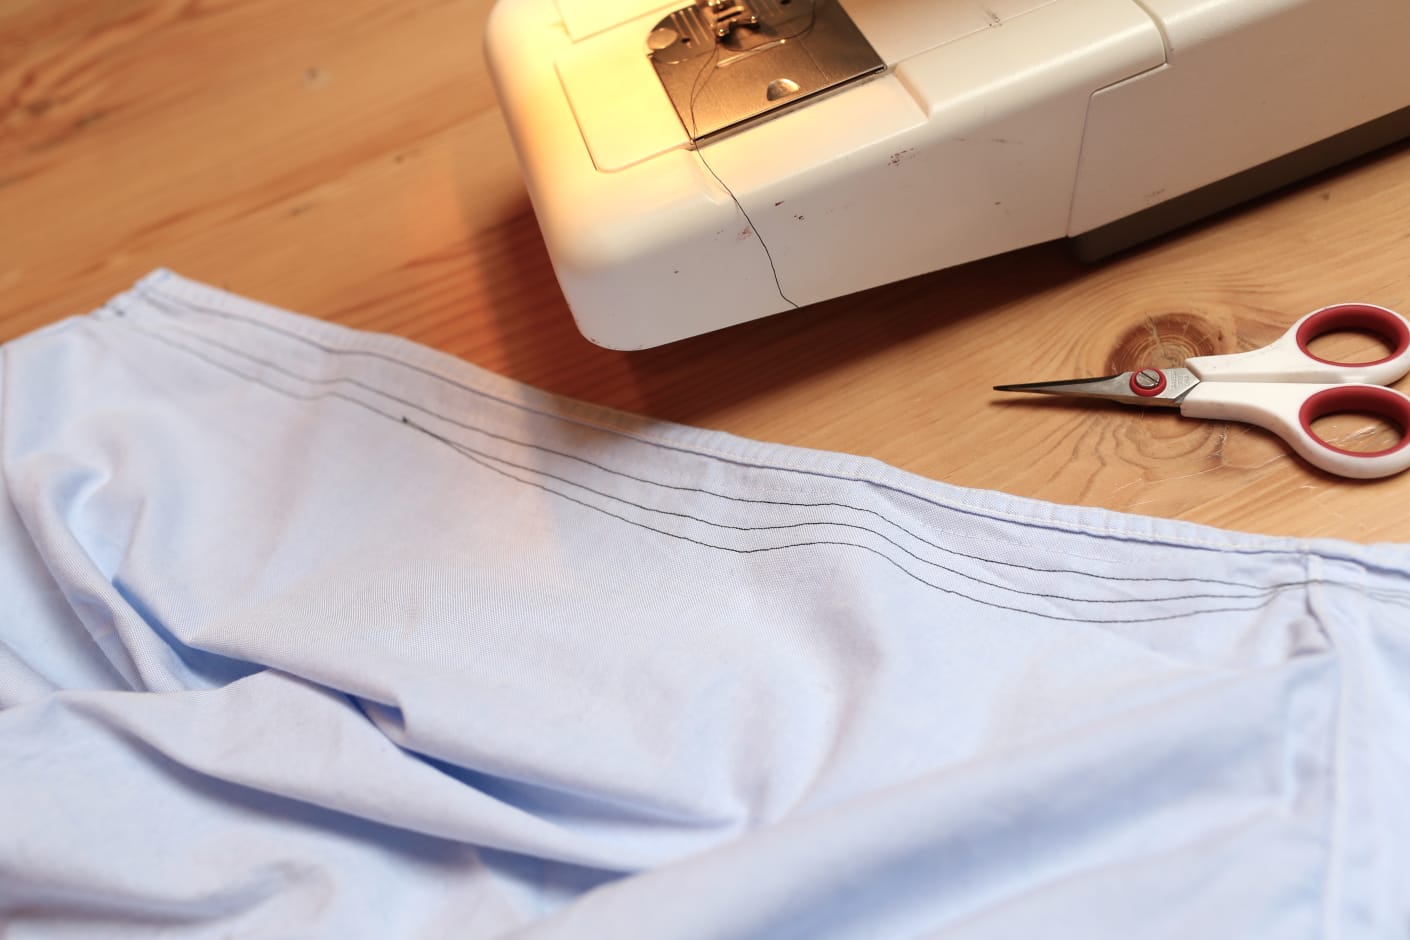
1. Even though it's on the inside, all that extra fabric and stitching looks messy, and it can uncomfortably bunch up. Get rid of it all by turning the shirt inside-out again, then carefully cutting the excess fabric off from where you sewed your new lines.

Boom. A nice, neat new seam on the inside-out side of your shirt.
2. Reinforce the now-cut edge of your new seam. Set your machine to a zig zag stitch, which will move the needle left and right with each stitch, letting you cross over the shirt's fabric to secure the edges. This gives you a second line of defense in case of a rip in your seam.
3. Set your shirt back up onto the machine, lining it up so that the needle's left zigzag position lines up with the shirt, and the right position is just over.
4. Start stitching, going especially slowly to make sure the zigzag stays lined up properly with the shirt's edge. Don't forget to double back with the reverse stitch button at the beginning and end.
Sew all along the body and arms, following the edge that you cut the entire way.

All done.
The Results

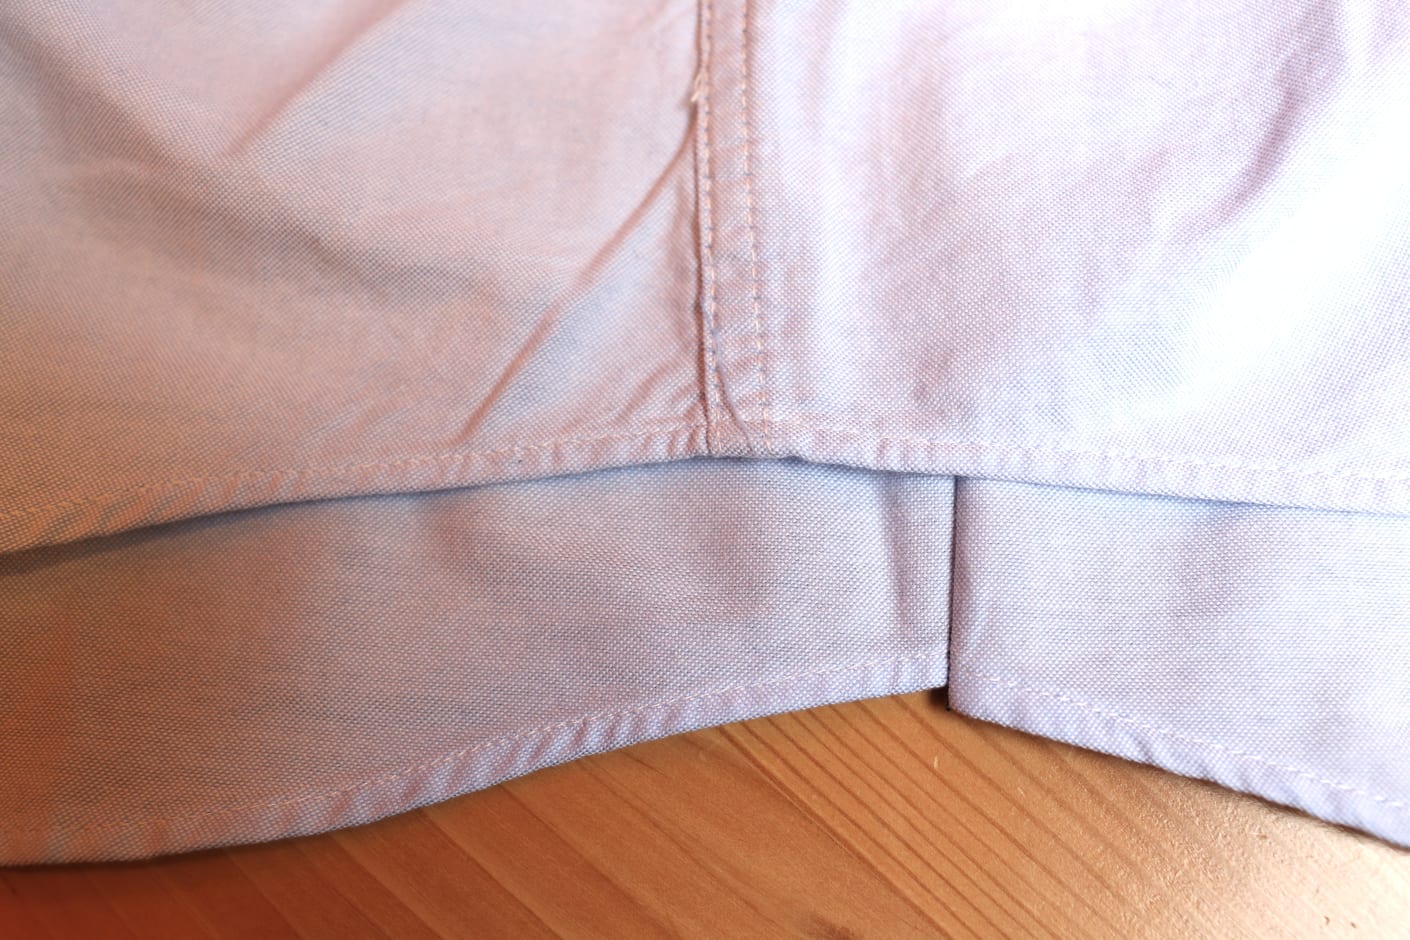
The stitch is impossible to notice on t-shirts and sweaters. But now you've created a new seam, the sides of your button-up shirts will look slightly different once they're tailored.
Here are the outwards side seam on an untailored shirt (top) and a tailored one (bottom). It doesn't look quite as nice, admittedly, but it's only noticeable to the trained eye and is hardly visible during daily wear, anyway.
If it seems daunting, don't worry. After a little bit of practice, you'll be able to do this in your sleep and have all your clothes fit just so.